The kids and I made some really fun stuff to ring in the new year.
The first thing we needed were party hats. Here is what we needed:
Construction Paper
watercolor paints
non-watercolor paint, I used acrylic
paintbrushes
scissors
tape
whatever you want to decorate, we used ribbon
The first part is the fun part, paint the paper. This is, obviously, easy for kids to help with.
After the paint dries you will need to roll the paper up, and loosen the bottom to make it fit the size of the wearer's head. Here I am measuring it on Faith's head. Make sure you leave a big enough hole in the top of the hat to fit ribbon through. Don't worry about it being too big, because it will be covered by the ribbon.
When you find a good size, tape the paper. Next you will need to punch a hole on the sides. I couldn't find my hole puncher, so I just used the scissors.
Now use your ribbon to make a chin strap for your hat to make sure it stays on. Measuring is important before tying the knot.
Now is the second fun part, decorating your hat. Don't forget to put the year on the hats!!!
Next we make the ribbons that stick out of that top. Cut off 6 ribbons in whatever length you want. Make a knot in the end of them, something important to remember is that the ribbon will be difficult to tape once you get ribbon through the top. So, you will want to make the straight part of the ribbon a bit longer then I made mine.
Once you are done curling the ribbon stick the straight part through the tip of the hat. Once you tape it down you will be done!!!
Charlie doesn't look to excited to party, but he just woke up from a nap, so he's got an excuse.
Faith and I, however, are ready to go!
Here is our next project, we made Maracas!!
Here is what you will need:
Empty ribbon spool
tape
any color of acrylic paint
something to put in the maracas, I put rice in
whatever you need to decorate, we did sequins
The first thing you need to do is tape up one side of the spool.
Some have the holes covered, and if that's the case you'll still need the tape, just poke a hole in one side of the spool.
Now you'll need to fill your spool with whatever you decided to put in it. Here I am putting in my rice.
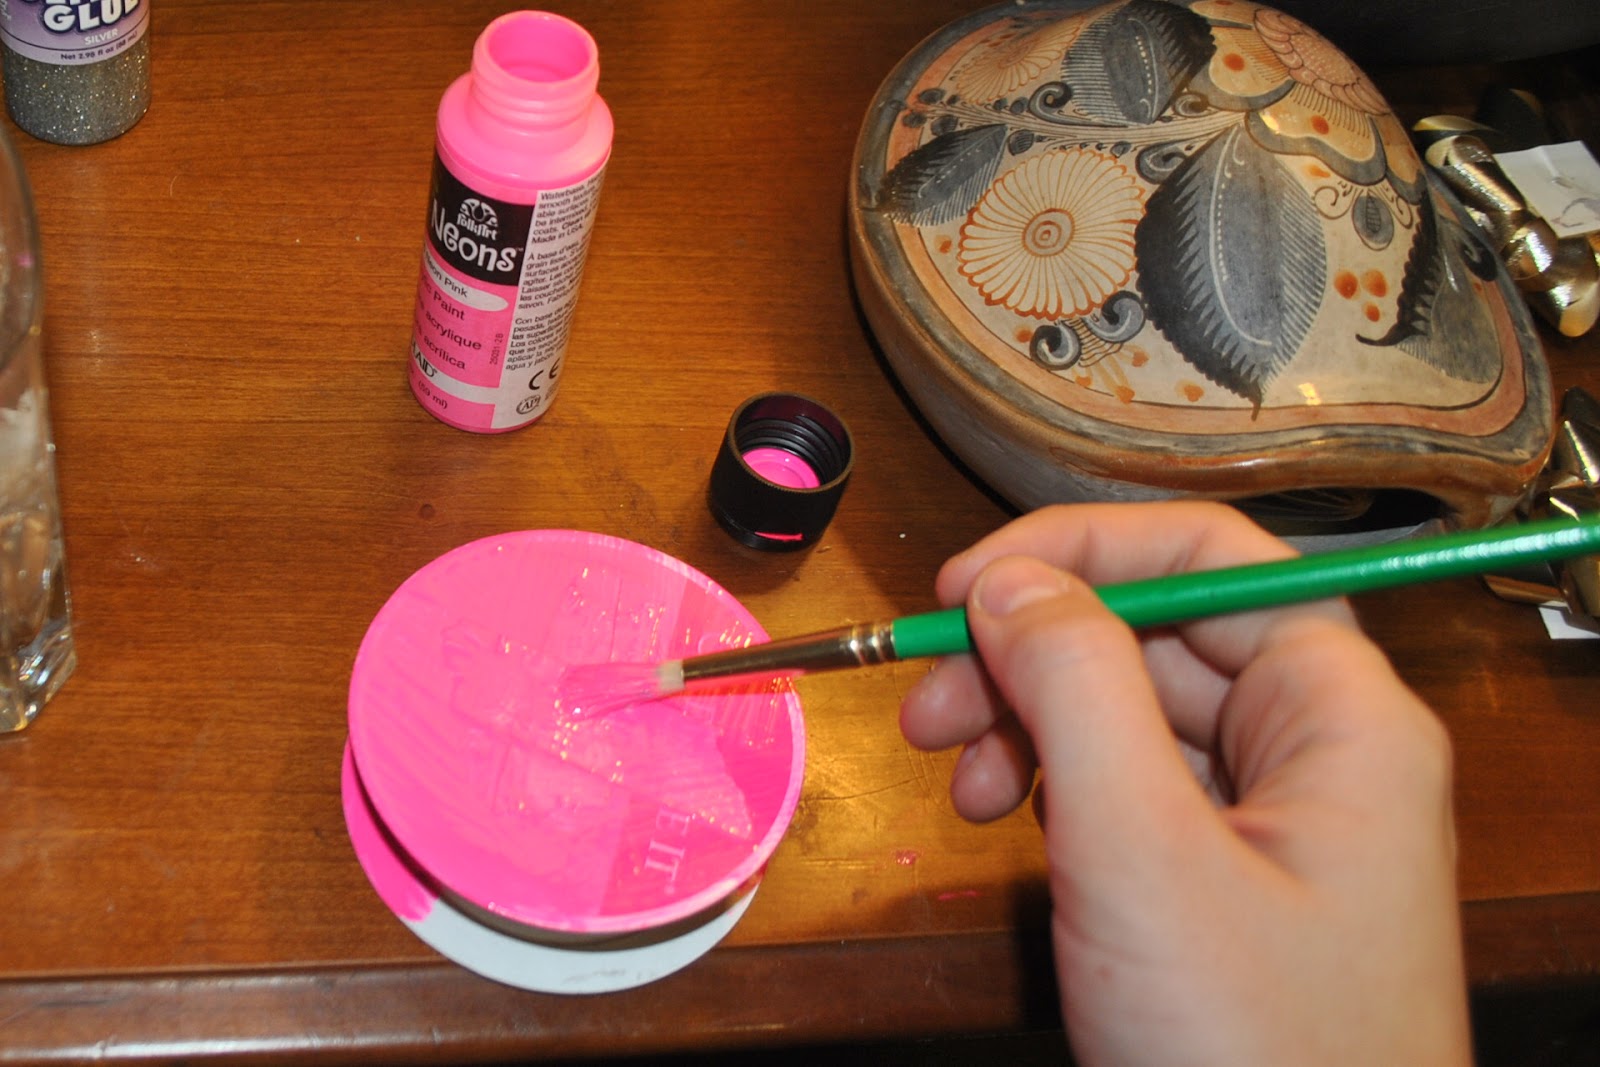
Next you paint the spool. Acrylics take a while, so try and make the layers thin.
We let ours dry overnight, then when they are dry you can glue, stick, or attach in whatever way the decorations you decided to put on your maracas.
Here is Faith's finished maraca.
Now...enjoy!
 |
| Charlie loves the sound! |
Finally we made our own Time Square Ball to drop
Here is what you will need:
glue gun
Foam ball
spray paint of either silver or gold, something metalic
pipe cleaners
sequins
First you push the pipe cleaner through any part of the ball, this is actually really easy. Push it through far enough where you think it wont fall off. Then, take the ball outside and spray paint it. This may make the foam make a melting look, but it will be covered with sequins.
The next part takes a while, depending on the size of your sequins. You will need to glue the sequins all over the ball. Once you're finished and it's dry you just need to hang it up somewhere.
For the Time Square Ball, I have also used pins to hold larger sequins on.
Hope everyone has a Happy New Year!!!!
From Maggie, Dario, Faith and Charlie